How do you choose which frequencies to boost or cut on an equalizer?
How do you choose which frequencies to boost or cut on an equalizer?How do you choose which frequencies to boost or cut on an equalizer?
Understanding Frequency Bands
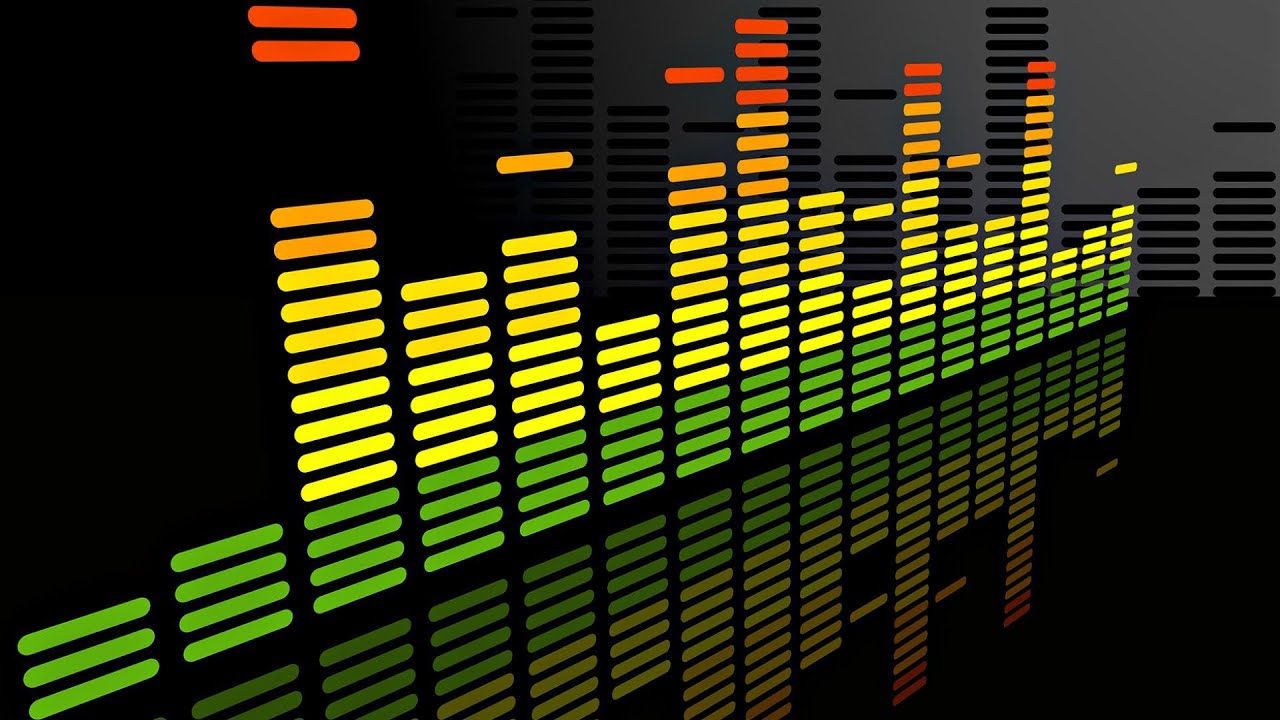
When it comes to choosing which frequencies to boost or cut on an equalizer, the first step is to understand the different frequency bands. Equalizers typically have a series of sliders or knobs that allow you to adjust the levels of different frequency bands. The most common frequency bands are bass, midrange, and treble. Bass frequencies are typically between 20Hz and 250Hz, midrange frequencies are between 250Hz and 4kHz, and treble frequencies are between 4kHz and 20kHz. Understanding how these frequency bands affect the sound is key to choosing which frequencies to boost or cut.
Identifying Problem Frequencies
Once you understand the frequency bands, the next step is to identify which frequencies are causing problems in the sound. This can be done by listening carefully to the audio and paying attention to which frequencies are too loud or too quiet. For example, if the bass is too boomy, you may need to cut the low frequencies using the equalizer. If the vocals are too harsh, you may need to cut the midrange frequencies. Identifying the problem frequencies is key to choosing which frequencies to boost or cut.
Making Subtle Adjustments
Once you’ve identified the problem frequencies, it’s time to start making adjustments using the equalizer. The key is to be patient and make subtle adjustments. It’s important to remember that equalization is not a magic fix for all audio problems. In some cases, you may need to address the underlying issue before using the equalizer. As the music producer Quincy Jones once said, “Equalization is like a microscope. You can see everything, but you can also ruin everything.” With that in mind, use the equalizer to make small adjustments to the sound, and listen carefully to the results. Over time, you’ll develop a better understanding of how to choose which frequencies to boost or cut.
Final Words:
In conclusion, choosing which frequencies to boost or cut on an equalizer can be a powerful tool for improving the sound of your music or audio content. By understanding the different frequency bands, identifying the problem frequencies, and making subtle adjustments, you can achieve a more balanced and natural sound. And if you’re looking for a reliable and effective equalizer software, I highly recommend checking out mp4gain. It’s a great solution for normalizing and converting audio and video files, with an integrated equalizer that can help you achieve the perfect sound.
How do you use an equalizer to fix audio problems?
How do you use an equalizer to fix audio problems?How do you use an equalizer to fix audio problems?
Understanding Equalizer Settings
When it comes to using an equalizer to fix audio problems, the first step is to understand the different settings. Equalizers typically have a series of sliders or knobs that allow you to adjust the levels of different frequency bands. The most common types of equalizers are graphic equalizers and parametric equalizers. Graphic equalizers are simpler to use, as they display the frequency response of the audio signal in a graphical interface. Parametric equalizers are more complex, but offer more control over the sound. Understanding how to use these settings is key to fixing audio problems.
Identifying Audio Problems
Before you can use an equalizer to fix audio problems, you need to identify what those problems are. Common audio problems include muddiness, harshness, sibilance, and boomy bass. These issues can be caused by a variety of factors, such as poor microphone placement, room acoustics, or low-quality equipment. Once you’ve identified the problem, you can use the equalizer to target the specific frequency bands that are causing the issue. For example, if you’re dealing with boomy bass, you can cut the low frequencies using the equalizer.
Using the Equalizer to Fix Audio Problems
Once you’ve identified the problem and understand the equalizer settings, it’s time to start fixing the audio. The key is to be patient and make subtle adjustments. It’s important to remember that equalization is not a magic fix for all audio problems. In some cases, you may need to address the underlying issue before using the equalizer. As the music producer Rick Rubin once said, “Equalization is a tool, not a crutch.” With that in mind, use the equalizer to make small adjustments to the sound, and listen carefully to the results. Over time, you’ll develop a better understanding of how to use the equalizer to fix audio problems.
Final Words:
In conclusion, using an equalizer to fix audio problems can be a powerful tool for improving the sound of your music or audio content. By understanding the different equalizer settings, identifying the audio problems, and making subtle adjustments, you can achieve a more balanced and natural sound. And if you’re looking for a reliable and effective equalizer software, I highly recommend checking out mp4gain. It’s a great solution for normalizing and converting audio and video files, with an integrated equalizer that can help you achieve the perfect sound.
Types of Audio EqualizersTypes of Audio Equalizers
Types of Audio Equalizers: Introduction
As an audio enthusiast, I have always been intrigued by the different types of audio equalizers available in the market. Equalizers allow us to adjust the frequency response of audio signals, thereby enhancing the sound quality of music or any other audio content. In this article, we will explore the various types of audio equalizers that exist.
Graphic Equalizers
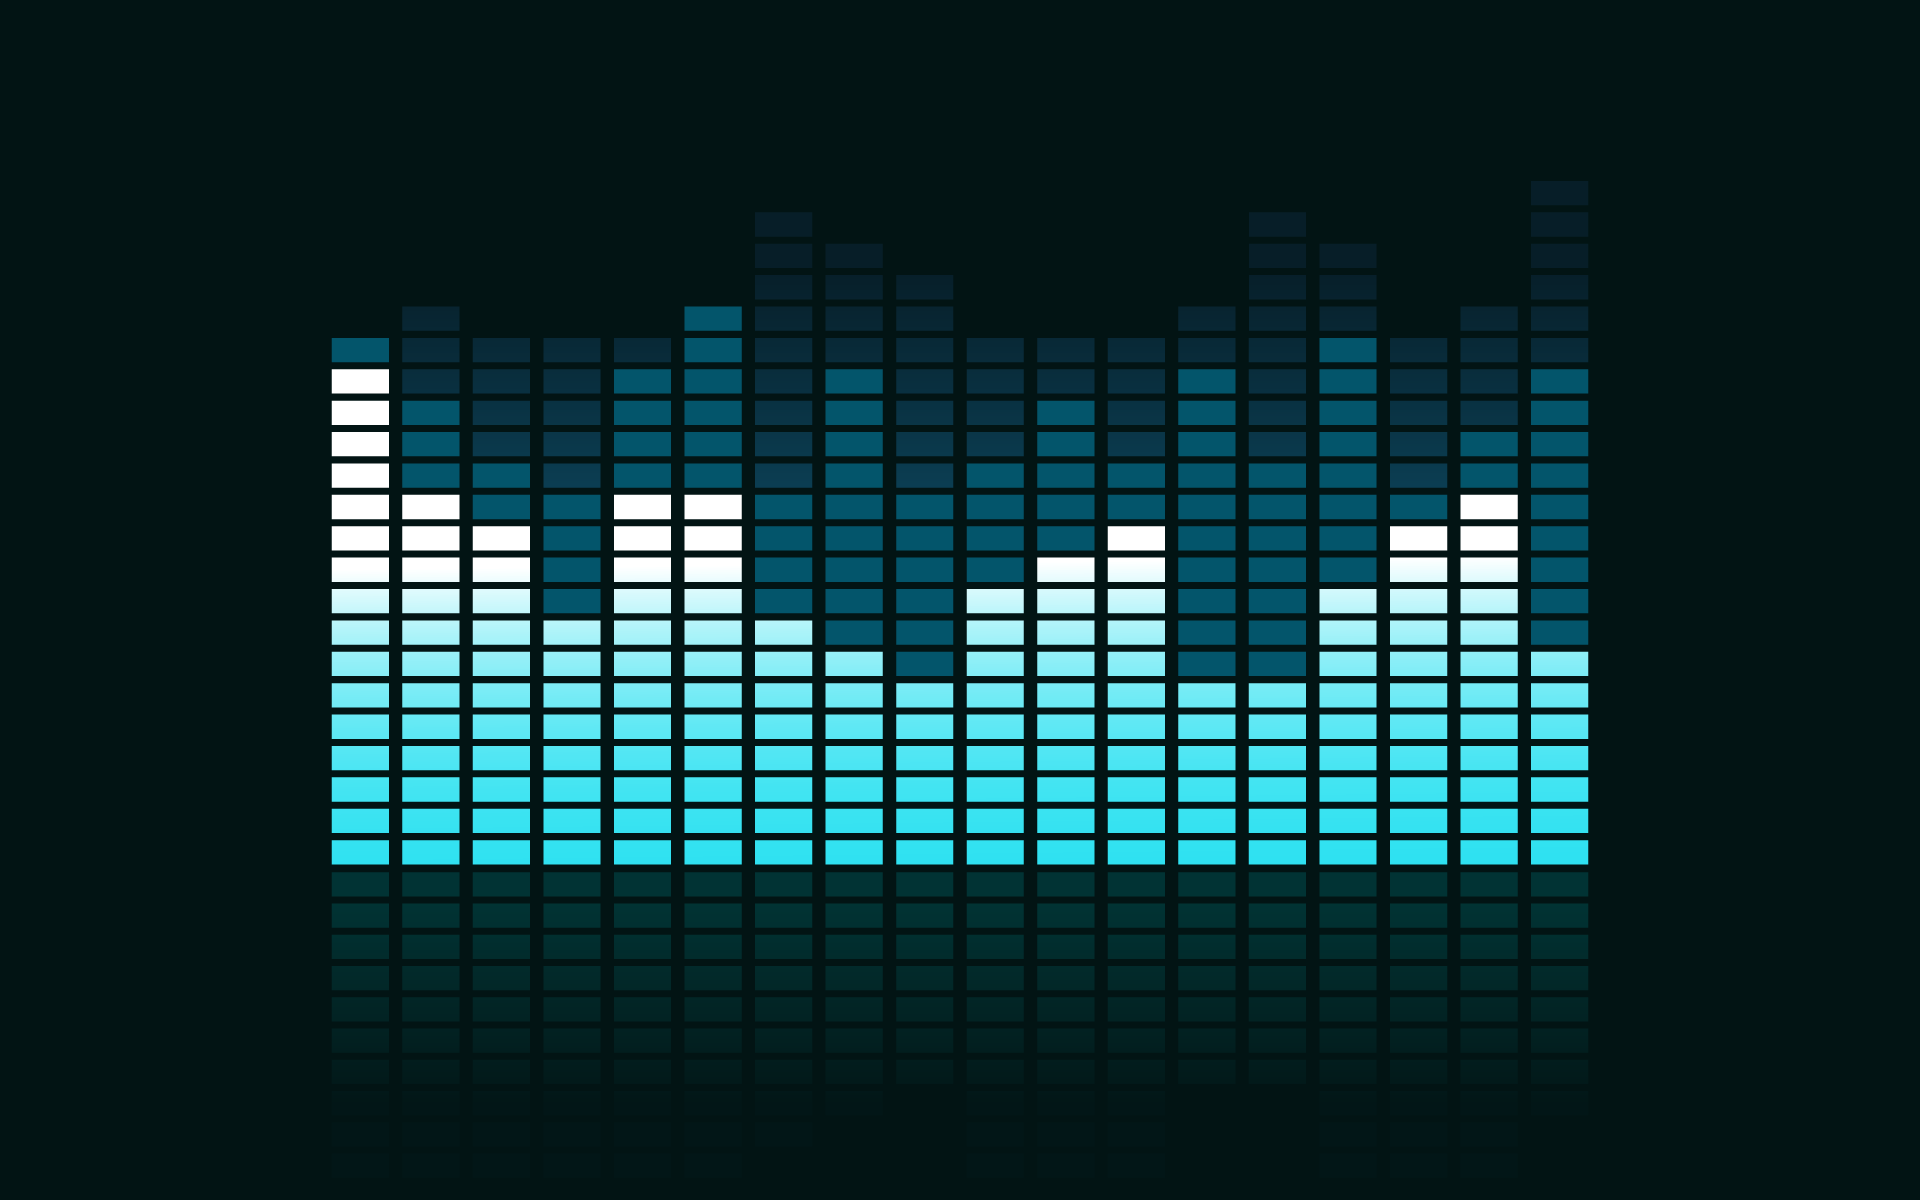
Graphic equalizers are one of the most popular types of audio equalizers. They are characterized by their visual representation, which consists of a series of sliders that control different frequency ranges. These sliders allow us to boost or cut specific frequencies to achieve the desired sound. As the name suggests, graphic equalizers display a graph of the frequency response, which makes it easy to visualize the adjustments being made.
According to F. Alton Everest in his book “The Master Handbook of Acoustics”, “graphic equalizers are the most common type of equalizer, and they are very versatile. They are used in many applications, including live sound reinforcement, studio recording, and home audio systems.”
Parametric Equalizers
Parametric equalizers are another type of audio equalizer that offer greater control and precision over the sound. They consist of a set of adjustable parameters such as center frequency, bandwidth, and gain. This allows us to precisely adjust the frequency response of the audio signal to achieve the desired sound.
In the words of Bob Katz in his book “Mastering Audio: The Art and the Science”, “parametric equalizers are the Swiss Army knife of equalization. They offer greater control over the sound, and they are commonly used in professional audio applications such as mastering and sound design.”
Shelving Equalizers
Shelving equalizers are a type of equalizer that adjust the frequency response above or below a certain point. They are characterized by a shelf-like shape in their frequency response, which makes them ideal for boosting or cutting high or low frequencies.
According to Craig Anderton in his book “The Musician’s Guide to Home Recording”, “shelving equalizers are particularly useful in adjusting the tonal balance of a track, such as boosting the highs to add sparkle or reducing the lows to make the track less boomy.”
Semi-Parametric Equalizers
Semi-parametric equalizers are a combination of graphic and parametric equalizers. They consist of a set of adjustable parameters such as center frequency and gain, as well as a set of fixed frequency bands that can be boosted or cut using sliders. This offers a balance between the control and precision of parametric equalizers and the simplicity and visual feedback of graphic equalizers.
According to Mike Senior in his book “Mixing Secrets for the Small Studio”, “semi-parametric equalizers are a great choice for home studios and beginner mixers, as they offer a good balance between flexibility and ease of use.”
Conclusion
In conclusion, there are various types of audio equalizers available in the market, each with its own set of features and advantages. Whether you’re a professional audio engineer or a home studio enthusiast, choosing the right type of equalizer can make a significant difference in the quality of your audio output. If you’re looking for a solution that combines normalization, conversion, and equalization, then mp4gain is an excellent option to consider.
What is a Sound Equalizer?What is a Sound Equalizer?
Equalizer in Audio Systems
An equalizer is a device that allows you to adjust the frequency response of an audio system, enabling you to fine-tune the sound to your liking. It can be found in many audio systems, including home theaters, car audio systems, and professional audio equipment. By adjusting the equalizer settings, you can boost or cut specific frequencies, such as bass or treble, to enhance the overall listening experience.
How to Use an Equalizer
Using an equalizer can be a bit tricky, but once you get the hang of it, it can make a big difference in the sound quality of your audio system. To use an equalizer, start by playing some music that you’re familiar with, and then adjust the equalizer settings to your liking. Be careful not to overdo it, as boosting certain frequencies too much can result in distortion. It’s best to make small adjustments and listen to the changes as you go.
Understanding Equalizers
Equalizers work by adjusting the amplitude of specific frequencies in the audio signal. They are made up of several filters, each of which affects a different frequency range. For example, a low-pass filter will affect frequencies below a certain point, while a high-pass filter will affect frequencies above a certain point. Understanding how these filters work and how to adjust them can help you get the most out of your audio system.
As the character Aldous Snow says in the movie Get Him to the Greek: “Music is the only thing that makes sense anymore, man. Play it loud enough, it keeps the demons at bay.” And a good equalizer can make that music sound even better.
Equalizer Settings for Music
Equalizer settings for music can vary depending on personal preference, the type of music being played, and the quality of the audio system. However, there are some general guidelines that can help you get started. For example, boosting the bass frequencies can give music a more powerful and dynamic sound, while cutting the treble frequencies can make it sound warmer and smoother. It’s also important to pay attention to the midrange frequencies, which can affect the clarity and definition of the music.
In conclusion, using an equalizer can be a great way to enhance the sound quality of your audio system. With a little bit of practice and experimentation, you can find the perfect equalizer settings for your music and enjoy a more immersive listening experience.
Understanding Equalizers: A Guide to Mastering Audio Equalization
Understanding EqualizersUnderstanding Equalizers
How to Use an Equalizer to Enhance Your Audio
As an audio enthusiast, I’ve always been fascinated by the power of equalizers. These nifty tools can help you fine-tune your audio to perfection, giving you the power to adjust frequencies and eliminate unwanted noise. If you’re new to equalization, this guide will show you how to use an equalizer to enhance your audio experience.
Equalizer Settings Explained: The Basics
Equalizers come with a variety of settings that can be overwhelming at first. However, by understanding the basics, you’ll be able to optimize your audio in no time. In this section, we’ll break down each setting and explain what it does.
Mastering Equalization: Tips and Tricks
Mastering equalization takes time and practice, but with these tips and tricks, you’ll be well on your way to becoming an equalization pro. From understanding your audio equipment to experimenting with different settings, we’ll cover everything you need to know to take your audio to the next level.
Equalizer Dos and Don’ts: Common Mistakes to Avoid
Equalization can be a powerful tool, but it’s easy to make mistakes that can ruin your audio. In this section, we’ll cover some common dos and don’ts to keep in mind when using an equalizer. From avoiding excessive boosting to being mindful of your volume levels, these tips will help you get the most out of your equalizer.
Equalizer Tips and Tricks: Final Words
Using an equalizer can be a game-changer for your audio, but it takes time and practice to master. By understanding the basics, experimenting with different settings, and being mindful of common mistakes, you’ll be able to optimize your audio to perfection. And if you’re looking for a reliable audio equalizer software, consider mp4gain for all your audio needs.
An equalizer is a device that adjusts the frequency response of an audio signal. It allows you to boost or cut specific frequencies to tailor the sound to your liking. Equalizers are commonly found in audio systems, whether it’s in your car, home, or studio.
In this article, we will discuss how to use an equalizer and provide a step-by-step guide on adjusting the EQ settings to achieve the desired sound.
Understanding the Basics of EQ
Before we dive into the specifics of using an equalizer, it’s important to understand the basics of EQ. EQ stands for equalization, which is the process of adjusting the balance between different frequency components in an audio signal.
An EQ consists of several bands, each of which controls a specific frequency range. The number of bands on an EQ can vary, but most consumer-grade EQs have between five and ten bands. Professional-grade EQs can have up to 31 bands or more.
Each band has a center frequency and a bandwidth. The center frequency is the frequency that the band affects, and the bandwidth determines how wide of a range of frequencies the band affects. A narrow bandwidth affects only a small range of frequencies, while a wide bandwidth affects a broader range of frequencies.
Step-by-Step Guide to Using an EQ
Now that we have a basic understanding of EQ, let’s dive into the step-by-step guide on using an EQ. Step 1: Identify the problem areas in the audio signal.
Before making any EQ adjustments, it’s important to identify which frequencies need boosting or cutting. This can be done by listening to the audio signal and paying attention to any frequencies that sound too harsh, muddy, or boomy.
Step 2: Set all EQ bands to their default position.
Most EQs have a button or knob that allows you to reset all bands to their default position. This is typically labeled as “flat” or “0 dB.”
Step 3: Adjust the low-frequency band.
The low-frequency band controls the bass frequencies in the audio signal. If the audio signal lacks bass, you can boost this band. If the bass is too overpowering, you can cut this band.
Step 4: Adjust the mid-frequency bands.
The mid-frequency bands control the frequencies in the middle of the audio spectrum. If the audio signal lacks clarity, you can boost these bands. If the audio signal is too harsh, you can cut these bands.
Step 5: Adjust the high-frequency band.
The high-frequency band controls the treble frequencies in the audio signal. If the audio signal lacks brightness, you can boost this band. If the audio signal is too sibilant or hissy, you can cut this band.
Step 6: Make fine adjustments.
After making the initial adjustments, it’s important to listen to the audio signal again and make fine adjustments as needed. This can be done by making small changes to each band until the desired sound is achieved.
Frequently Asked Questions (FAQ)
Q1: How do I know which frequencies to adjust?
A1:
To identify which frequencies to adjust, listen to the audio signal and pay attention to any frequencies that sound too harsh, muddy, or boomy. You can also use a spectrum analyzer to visualize the frequency spectrum of the audio signal and identify any problem areas.
A2:
To use an equalizer, you should first identify the problem areas in the audio signal. Once you’ve identified the frequencies that need adjusting, you can use the EQ bands to boost or cut specific frequencies to achieve the desired sound. It’s important to make fine adjustments and listen to the audio signal again after making initial adjustments. Q3: Can I use an EQ to make a bad recording sound better?
A3:
While an EQ can help improve the sound of a recording, it cannot make a bad recording sound good. EQ can only adjust the balance between different frequency components in an audio signal, but it cannot fix problems with the recording itself, such as distortion or noise. Q4: Can I use an EQ to boost the volume of a recording?
A4:
An EQ can boost specific frequency ranges, but it cannot increase the overall volume of a recording. To increase the volume, you would need to use a compressor or a limiter. Q5: What is the difference between a graphic EQ and a parametric EQ?
A5:
A graphic EQ has a fixed number of bands with fixed center frequencies and bandwidths. A parametric EQ, on the other hand, allows you to adjust the center frequency, bandwidth, and gain of each individual band. Q6: How many bands should an EQ have?
A6:
The number of bands on an EQ can vary depending on the application. Consumer-grade EQs typically have between five and ten bands, while professional-grade EQs can have up to 31 bands or more. Q7: Can I use an EQ on headphones?
A7:
Yes, you can use an EQ on headphones to adjust the frequency response of the audio signal. Some headphone amplifiers come with built-in EQs, or you can use software EQs on your computer or mobile device. Q8: Should I use EQ when mixing a song?
A8:
EQ is an important tool for mixing a song, as it allows you to balance the different frequency components of each instrument or vocal track. However, it’s important to use EQ judiciously and not rely on it too heavily. Q9: Can I use EQ to create special effects?
A9:
Yes, EQ can be used to create special effects, such as a telephone or radio effect. By cutting specific frequency ranges, you can simulate the sound of a low-quality recording or a specific environment. Q10: What is a shelving EQ?
A10:
A shelving EQ is a type of EQ that boosts or cuts all frequencies above or below a certain frequency. For example, a high-shelf EQ would boost or cut all frequencies above a certain point, while a low-shelf EQ would boost or cut all frequencies below a certain point. Q11: How can I avoid overusing EQ?
A11:
To avoid overusing EQ, it’s important to use it judiciously and not rely on it too heavily. Start by making subtle adjustments and listening to the effect on the overall sound. Use EQ to address specific problem areas, but don’t try to fix everything with EQ alone. Q12: Can I use EQ to fix a room’s acoustics?
A12:
While an EQ can help compensate for some acoustic problems, such as a room with a boomy bass response, it cannot fix all acoustic problems. To improve the acoustics of a room, you would need to use acoustic treatment
FAQ
Q: How do I know which frequencies to adjust with EQ?
A:
You can use a frequency analyzer to identify the problem areas in the audio signal. A frequency analyzer will show you which frequencies are too loud or too quiet, allowing you to make adjustments with the EQ. Q: How do I know when I’ve achieved the desired sound with EQ?
A:
The best way to know when you’ve achieved the desired sound with EQ is to use your ears. Make subtle adjustments and listen to the effect on the overall sound. Keep adjusting until you achieve the sound you’re looking for. Q: Can I use EQ on live sound?
A:
Yes, you can use EQ on live sound to adjust the sound of the PA system or individual instruments. However, it’s important to make adjustments carefully and not to introduce feedback or other problems. Q: Can I use EQ on vocals?
A:
Yes, you can use EQ on vocals to adjust the tone of the voice and improve clarity. However, it’s important to be careful not to overuse EQ, as this can make the vocals sound unnatural. Q: How do I adjust EQ for different music genres?
A:
Different music genres have different frequency characteristics, so it’s important to adjust EQ accordingly. For example, rock music often has a lot of low-end energy, while jazz music may have a more balanced frequency response. Use your ears and listen to reference tracks to get a sense of what sounds right for each genre. Q: Can EQ affect the stereo image?
A:
Yes, EQ can affect the stereo image if you make adjustments to the stereo field. For example, if you boost the high frequencies on one channel and cut them on the other, this can create a sense of width in the stereo image. Q: How do I adjust EQ for headphones?
A:
Adjusting EQ for headphones is similar to adjusting EQ for speakers. Use your ears and listen to the overall sound, making adjustments to achieve the desired sound. Q: Can I use EQ on a guitar amp?
A:
Yes, you can use EQ on a guitar amp to adjust the tone of the guitar. This can help you achieve a more balanced sound and improve clarity. Q: Can I use EQ to remove noise from a recording?
A:
EQ cannot remove noise from a recording, as it cannot distinguish between the desired signal and unwanted noise. To remove noise from a recording, you would need to use noise reduction software or hardware. Q: How do I adjust EQ for a bass guitar?
A:
Adjusting EQ for a bass guitar depends on the style of music and the sound you’re trying to achieve. Generally, you’ll want to boost the low frequencies to add warmth and punch to the sound, and cut the high frequencies to reduce harshness. Q: Can I use EQ to make a small room sound bigger?
A:
EQ cannot make a small room sound bigger, as it cannot affect the physical dimensions of the room. To make a small room sound bigger, you would need to use reverb or other processing to create a sense of space.
Copy to Clipboard
Q: Can EQ be used to fix bad recordings?
A:
EQ can help improve the sound of a bad recording, but it cannot fix all issues. For example, if the recording is distorted or has other technical problems, EQ will not be able to fully fix these issues. However, EQ can be used to improve the overall tone and balance of the recording. Q: Can EQ be used for mastering?
A:
Yes, EQ is an important tool in the mastering process. Mastering engineers use EQ to adjust the overall tone and balance of the music, and to make sure the different instruments and frequencies are well-balanced. Q: Can I use EQ on a drum kit?
A:
Yes, you can use EQ on a drum kit to adjust the tone of each drum and improve overall balance. For example, you can boost the low frequencies on the kick drum to add more punch, or cut the high frequencies on the cymbals to reduce harshness. Q: Can EQ be used on a podcast?
A:
Yes, EQ can be used on a podcast to adjust the tone and clarity of the voices. This can help make the podcast easier to listen to and improve overall sound quality. Q: How do I know when to use EQ?
A:
You should use EQ when you need to adjust the tone and balance of an audio signal. This could be to improve clarity, reduce harshness, or to make different instruments or voices stand out. Q: Can EQ be used for sound design?
A:
Yes, EQ can be used for sound design to shape and manipulate sounds. For example, you can use EQ to create a sense of distance or depth, or to emphasize certain frequencies in a sound. Q: How do I avoid overusing EQ?
A:
To avoid overusing EQ, start by making subtle adjustments and listening to the effect on the overall sound. Use reference tracks to get a sense of what sounds natural and balanced, and avoid making drastic changes to the EQ. Q: Can EQ be used on a video soundtrack?
A:
Yes, EQ can be used on a video soundtrack to adjust the tone and balance of the audio. This can help make the soundtrack easier to listen to and improve overall sound quality. Q: Can EQ be used on individual tracks in a mix?
A:
Yes, EQ can be used on individual tracks in a mix to adjust the tone and balance of each instrument or voice. This can help create a well-balanced mix with each instrument or voice occupying its own space in the mix. Q: How do I adjust EQ for a piano?
A:
Adjusting EQ for a piano depends on the style of music and the sound you’re trying to achieve. Generally, you’ll want to boost the low frequencies to add warmth and depth to the sound, and cut the high frequencies to reduce harshness. Q: Can EQ be used for live streaming?
A:
Yes, EQ can be used for live streaming to adjust the sound of the audio being streamed. This can help make the audio easier to listen to and improve overall sound quality.
An audio equalizer works by adjusting the different frequencies of sound in a music or audio file. Frequencies are how we measure the pitch or tone of a sound, and they’re measured in Hertz (Hz). A low frequency, like the bass, is around 20-200 Hz, while a high frequency, like a cymbal crash or a bird chirping, is around 5,000-20,000 Hz.
Imagine you’re listening to a song and you notice that the bass isn’t as loud as you want it to be. You can use an equalizer to boost the bass frequency and make it louder. On an equalizer, you would turn up the knob that controls the bass frequency, usually located on the left side of the equalizer.
Similarly, if you notice that the high notes in a song are too piercing or bright, you can turn down the treble frequency, usually located on the right side of the equalizer. By adjusting the different frequencies, you can make the music sound more balanced and pleasant to your ears.
An audio equalizer can also have multiple bands or knobs for each frequency range. For example, a 10-band equalizer has 10 different knobs, each controlling a different frequency range. This gives you more precise control over the sound of the music.
Why Do People Use Audio Equalizers?
People use audio equalizers for different reasons. For example, if you’re listening to music in a noisy environment, like in a car or on a train, you might want to boost the mid-range frequencies, which are where most of the vocals and instruments are. This makes it easier to hear the music over the noise.
If you’re listening to music on headphones or a small speaker, you might want to boost the bass frequency to make it sound more powerful and full. Similarly, if you’re listening to classical music, you might want to boost the high frequencies to make the strings and woodwinds sound clearer and more detailed.
Finally, some people use audio equalizers to compensate for hearing loss. For example, if someone has trouble hearing high frequencies, they can boost those frequencies on an equalizer to make the music sound more balanced to them.
Conclusion
In summary, an audio equalizer is a tool that lets you adjust the different frequencies of sound in a music or audio file. You can use it to make the music sound more balanced, pleasant, and easier to hear in different environments. An equalizer works by adjusting the different frequency bands, which are measured in Hertz, and can have multiple knobs or bands for more precise control. If you need to adjust the volume levels of your audio files after equalizing them, you can use a program like mp4gain to do so.
The History of Equalizers
Equalizers have a long and interesting history, with the concept of adjusting audio frequencies dating back to the early days of telephony and radio communication. Here’s a closer look at the development of equalizers over the years:
Early Telephony and Radio Communication
In the late 1800s and early 1900s, telephony and radio communication were becoming more prevalent. As communication technology developed, it became clear that certain frequencies of audio were more easily transmitted and understood than others. As a result, early communication systems used filters to adjust the audio frequencies and improve clarity.
Early Recording and Playback
In the early 1900s, the first recording and playback devices were developed. However, these early devices were limited in their frequency response and did not provide a way to adjust audio frequencies. In the 1920s, the first equalizers were developed for use in theaters to improve the sound quality of motion pictures.
The Development of Graphic Equalizers
In the 1950s, graphic equalizers were developed. These devices allowed for more precise adjustment of audio frequencies by using a series of sliders to control specific frequency bands. Graphic equalizers were first used in the recording industry, allowing engineers to fine-tune the sound of recordings.
The Rise of Parametric Equalizers
In the 1970s, parametric equalizers were developed. These devices allowed for even more precise adjustment of audio frequencies by allowing engineers to control the center frequency, bandwidth, and level of each frequency band. Parametric equalizers became popular in recording studios and live sound systems.
Modern Digital Equalizers
With the rise of digital audio technology in the 1980s and 1990s, digital equalizers were developed. These devices allowed for even greater precision in adjusting audio frequencies and provided more flexibility in terms of signal routing and processing. Today, digital equalizers are widely used in recording studios, live sound systems, and consumer electronics.
Conclusion
Equalizers have come a long way since the early days of telephony and radio communication. Today, equalizers are essential tools for adjusting and enhancing the sound of music, movies, and other audio content. Whether you’re a recording engineer, a live sound engineer, or a music lover, understanding the history and development of equalizers can help you appreciate the technology and get the most out of your audio equipment. And remember, if you’re looking for an easy-to-use and effective equalizer tool, check out mp4gain!
Since it was possible to transfer files between computers, especially music container files, it was clearly perceived that it was necessary to “tweak” the volume level or loudness so that they all sound with the same intensity in terms of volume.
Mp3 Equalizer
At the beginning of this circumstance, they were only mp3 files. Currently we have Opus, Flacc, ogg, etc and in all of them this same normalization of the volume level is necessary.
Mp4Gain is, without a doubt, the most advanced software in this area, in fact almost the only one. Because in addition to normalizing the volume of many audio formats it can also normalize the audio volume of many video formats.
When it comes to audio, whether it’s the diversity of algorithms, codec types, or the complexity of the audio codec is much higher than that of video. The video codec is still mainly based on macroblocks as the processing unit, and the hybrid prediction and transformation coding framework, such as H.264 and H.265, is under this framework. Audio is quite complex and different audio codecs should be selected for different scenarios. The following is the main content shared for you this time, I hope that through this sharing, you can have a general understanding of audio encoding and decoding, and have a baseline in practical applications.
Outline of the content of this exchange:
1) General voice/audio coding table;
2) Basic elements of digital voice;
3) Why compression;
4) Factors considered by the encoder;
5) Classic voice coding model;
6)ISO;
7) Coding model;
8) USAC,
9) Coding,
10) Factors to consider in the selection.
Digital sound has three elements:
1) Sampling rate,
2) Number of channels,
3) Number of quantization bits.
▲ The sound digitization process
The sound digitization process is:
1) Sampling: digitizes the signal on the time axis;
2) Quantization: digitizes the signal on the amplitude axis;
3) Coding: records the sampled and quantized digital data in a given format.
6. Why compress
Compress audio, primarily to free up more bandwidth for video while reducing bandwidth load. Two factors, storage and bandwidth, determine the need for voice compression.
Let’s look at the example below.
The duration is 4 minutes, the sample rate is 44100 Hz, the sample depth is 16 bits, and the double voice Wav file size is:
128kbps*4minutes=(128kbits/1second)*(4minutes*(60seconds/1minute))=(128kbits/1second)*240seconds=30720kbits=30720kbits/(8bits/1byte)=3840kbytes=3840k/(1024k/1M)bytes=3.75 MB = 3.75MB
As in the example above, after compressing the sound, the storage size is one tenth of the original size, and the compression rate is very impressive!